The Mazi React Native UI KIT supports both React Native Cli and Expo Cli (Managed Workflow)
System Requirements
Please refer from React Native official page Setting up the development environment for make sure you already run application with basic setting environment
Expo CLI
After unzipping the download pack, you’ll find a source-expo folder with all the files. Open a Terminal in the source-expo folder and run command.
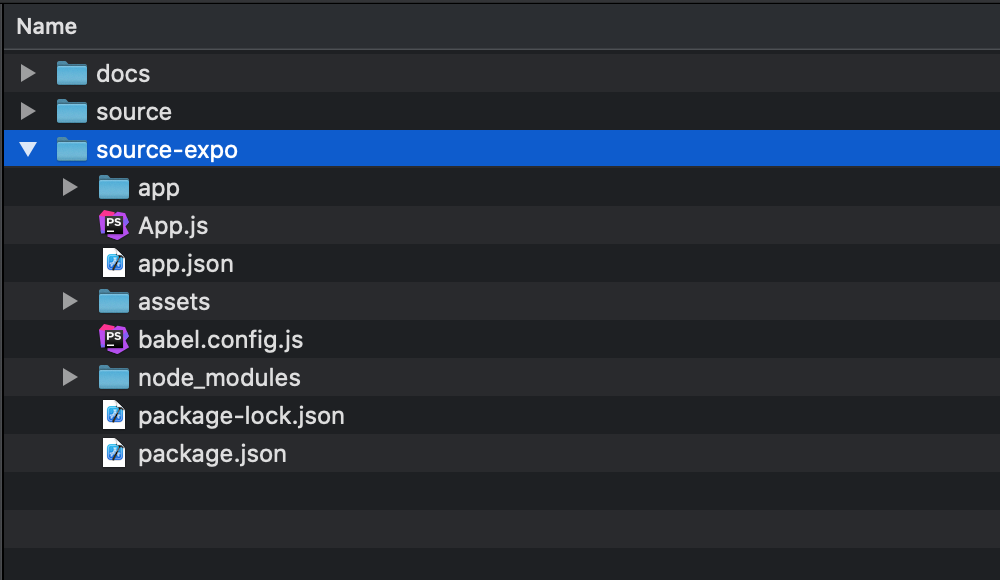
cd ./source-expo
yarn setup
yarn start
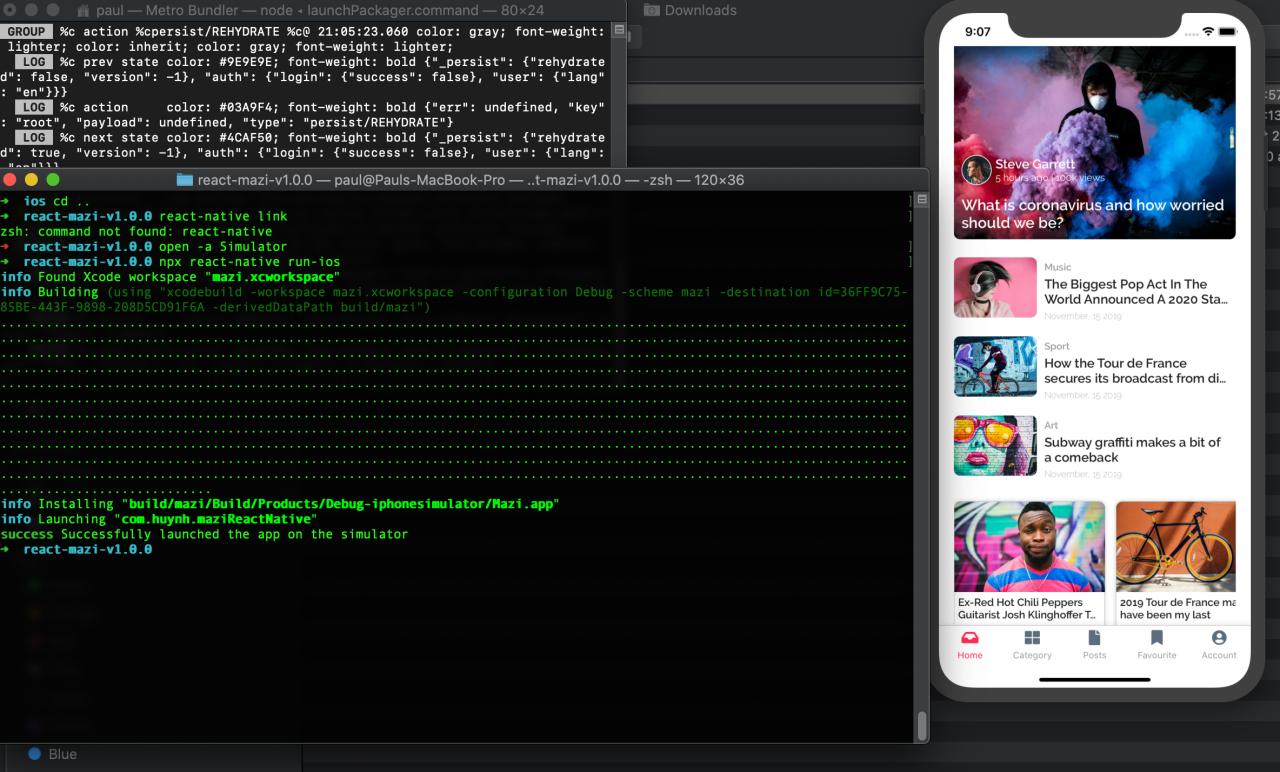
After you run the command successfully, you can find the result like the image below.
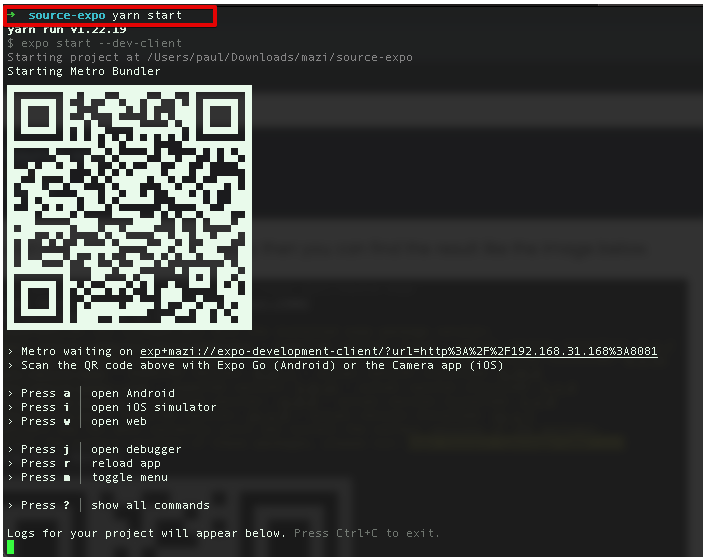
Install the Expo app on the Apple Store or Play Store.
Use your phone to scan the QR code above to demo the Mazi app (please make sure your phone and your computer are using the same network connection)
React Native CLI
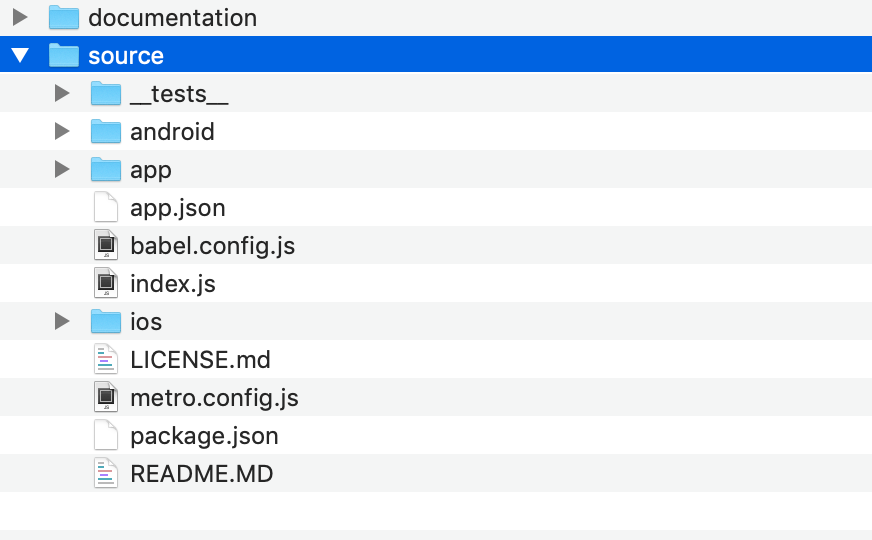
After unzipping the download pack, you’ll find a source folder with all the files. Open a Terminal in the source folder and run the command.
IOS
Setup and install packages
cd ./source
yarn setup
Start Metro
yarn start
Start your application
yarn ios
If you’re using Mac M1, please run the command
yarn ios-m1
Android
Before getting started, please read thoroughly this React Native official docs for how prepare with Android development https://facebook.github.io/react-native/docs/getting-started
After you finished setup for Android, we will move to next step
Setup
cd ./source
yarn setup
Start Metro
yarn start
Start your application
yarn android
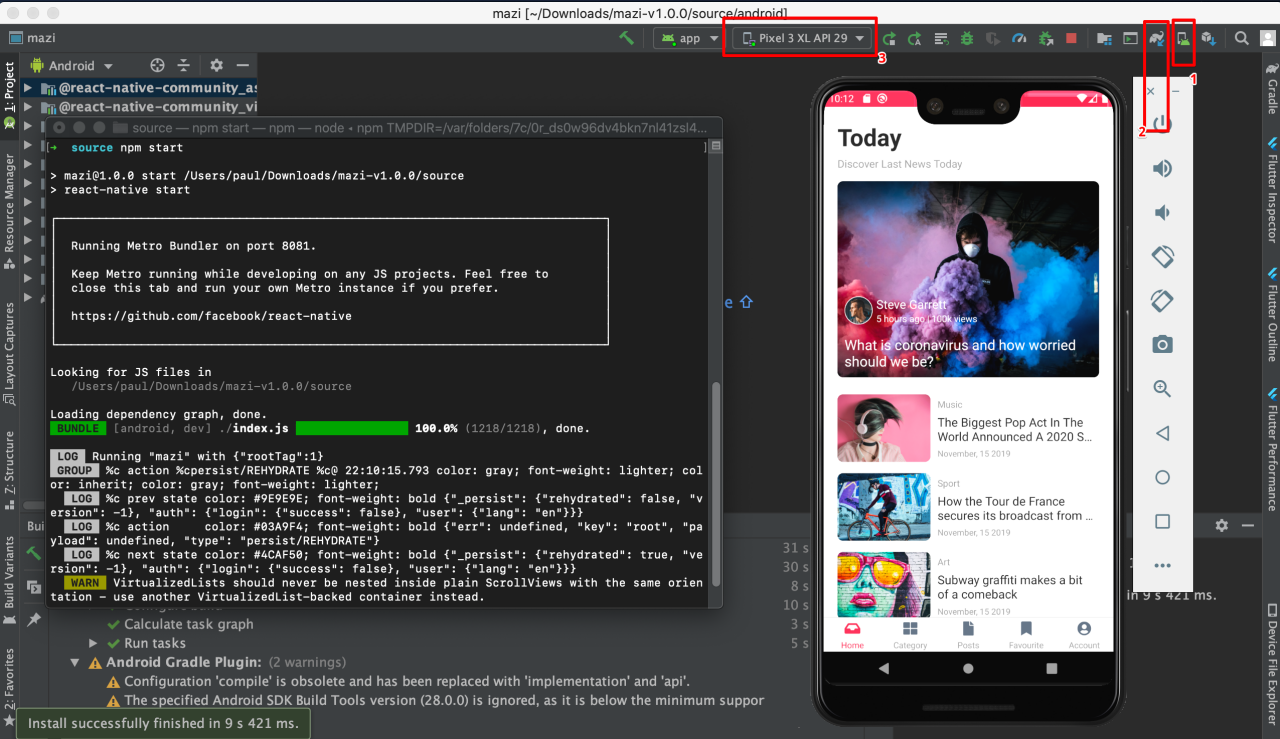
Download the latest Android Studio version and build the project with folder ./source/android
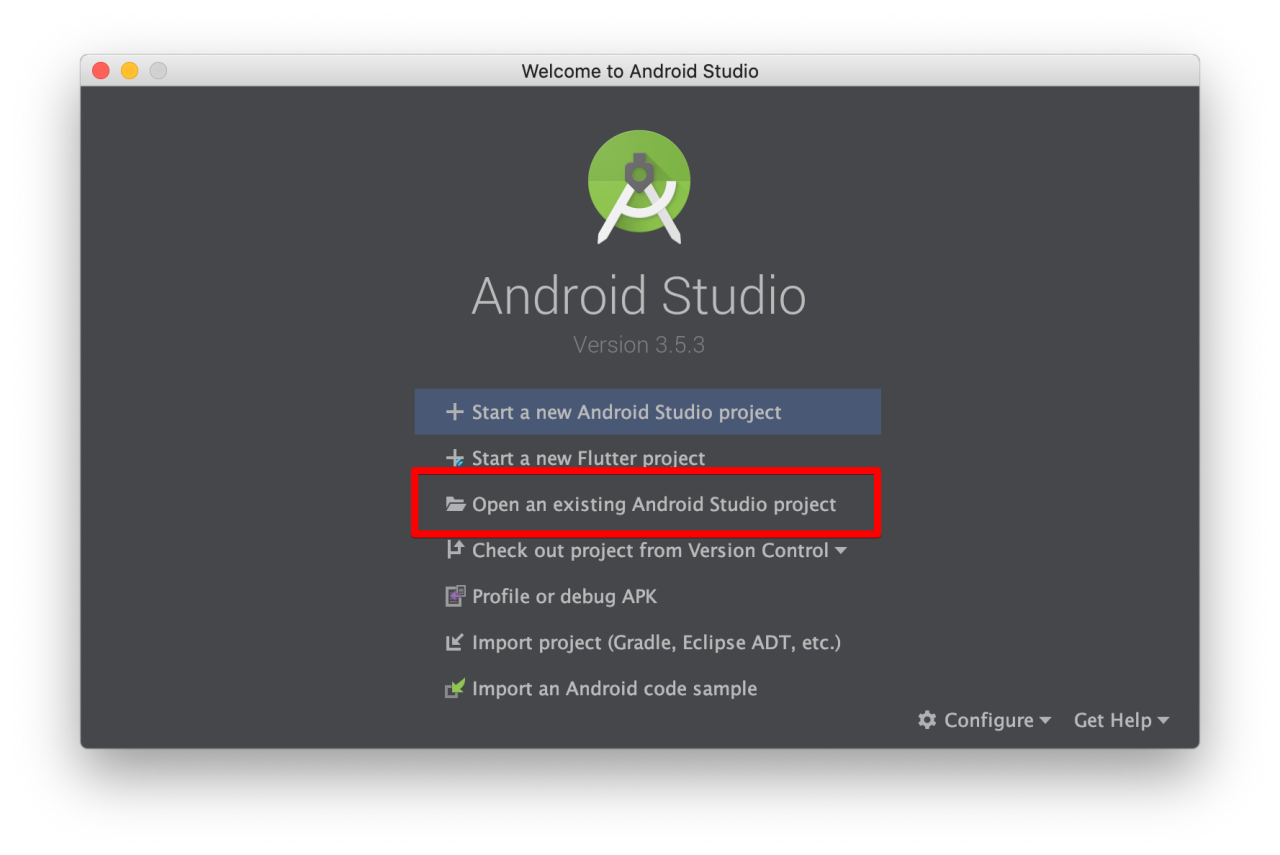
Steps to run the app
- Step 1: ADM Manager – Install your virtual devices for use
- Step 2: Sync project with Gradle files
- Step 3: Select the virtual device and Run your application